
Gophish - Setting up without Evilginx - Part 2

GoPhish End-to-End Setup for Credential Capture
In this second part, I will be configuring GoPhish from start to end, up to the point where we successfully capture the credentials of a phished user. This setup reflects a real-world phishing simulation commonly performed during red team and VAPT engagements, without using Evilginx.
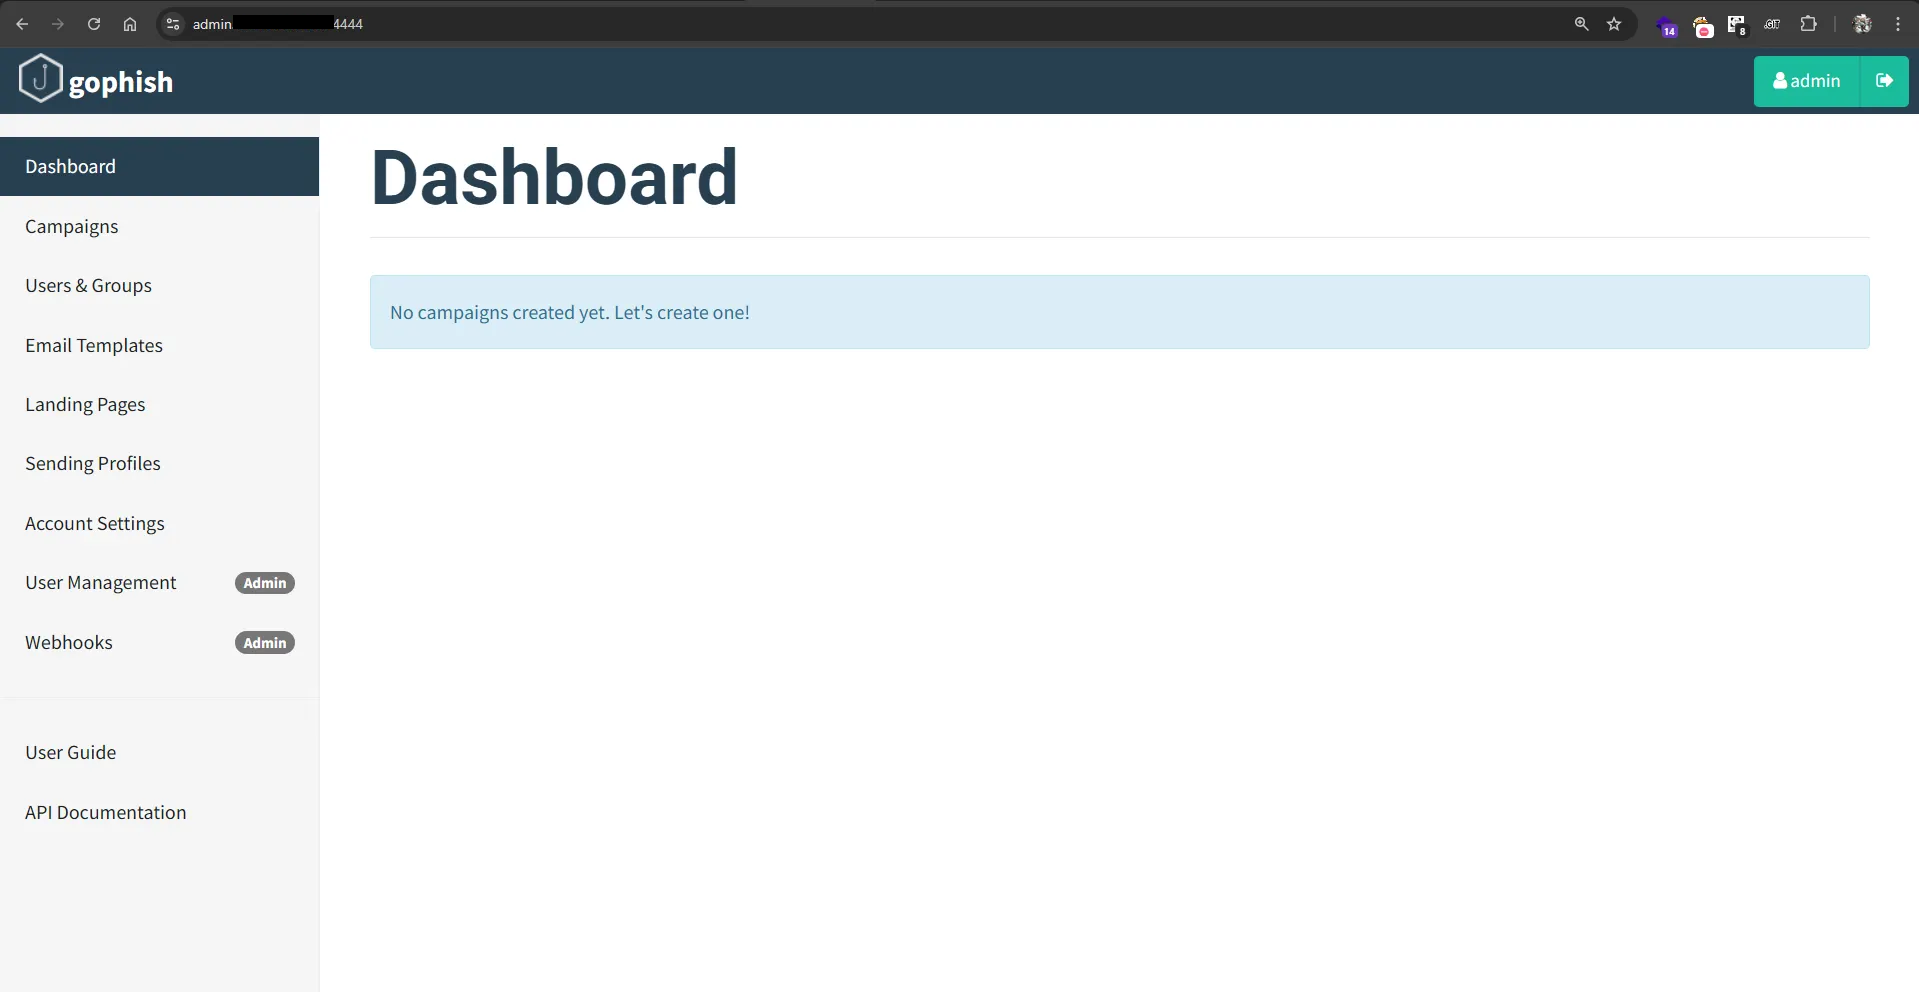
Main Components Inside GoPhish
- Dashboard – Used to visualize campaign results and status using graphs
- Campaigns – Place where phishing campaigns are created and stopped
- Users and Groups – Place where victim email addresses are added
- Email Templates – Used to create email templates sent to victims
- Landing Page – Used to create pages where victims enter credentials
- Sending Profile – Used to configure SMTP settings
- User Management – Used for account configuration
Initial Setup
First, create a directory to download GoPhish and perform all configurations inside it.
1 | ❯ mkdir gophish |
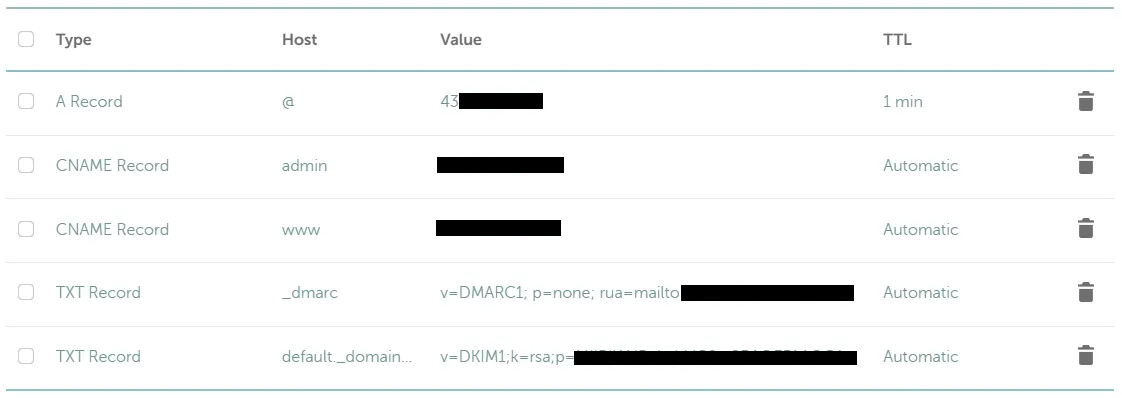
Domain Mapping (A Records)
This step verifies that the phishing domain correctly resolves to the EC2 public IP address. Proper A-record mapping is mandatory for HTTPS certificate issuance and successful access to the phishing landing page.
1 | ❯ dig domain.com |
SSL/TLS Certificate Generation
To enable HTTPS and avoid browser security warnings, we need to request SSL/TLS certificates from Let’s Encrypt using Certbot.
Two certificates are required:
- One for the phishing domain
- One for the GoPhish admin dashboard
Run the following commands to generate the certificates:
1 | ❯ sudo certbot certonly --standalone -d domain.com |
After successful issuance, the certificates will be stored at the following locations:
1 | /etc/letsencrypt/live/domain.com/fullchain.pem |
Next, update the GoPhish configuration file to use these certificates for both the phishing server and the admin server.
1 | ❯ nano gophish/config.json |
- Ensure ports 80 and 443 are accessible during certificate issuance. If port 80 is blocked, Certbot will fail to complete the HTTP-01 challenge.
- The admin server port (4444) can be set to any custom port as per your requirement. In this setup, it is configured to use 4444.
Running GoPhish Using tmux
To keep GoPhish running continuously without interruption, we use tmux and start the GoPhish service inside a tmux session.
1 | ❯ tmux new -s gophish |
Once GoPhish starts successfully, a temporary admin username and password will be displayed in the console output.
Use these credentials to log in to the GoPhish admin dashboard at: https://admin.domain.com:4444
Note: After the initial login, it is recommended to immediately change the default admin password from the User Management section.
Sending Profile
First, configure the SMTP sending profile to send phishing emails from your phishing domain to the victim’s email address.
The required configuration format is shown in the screenshot below.
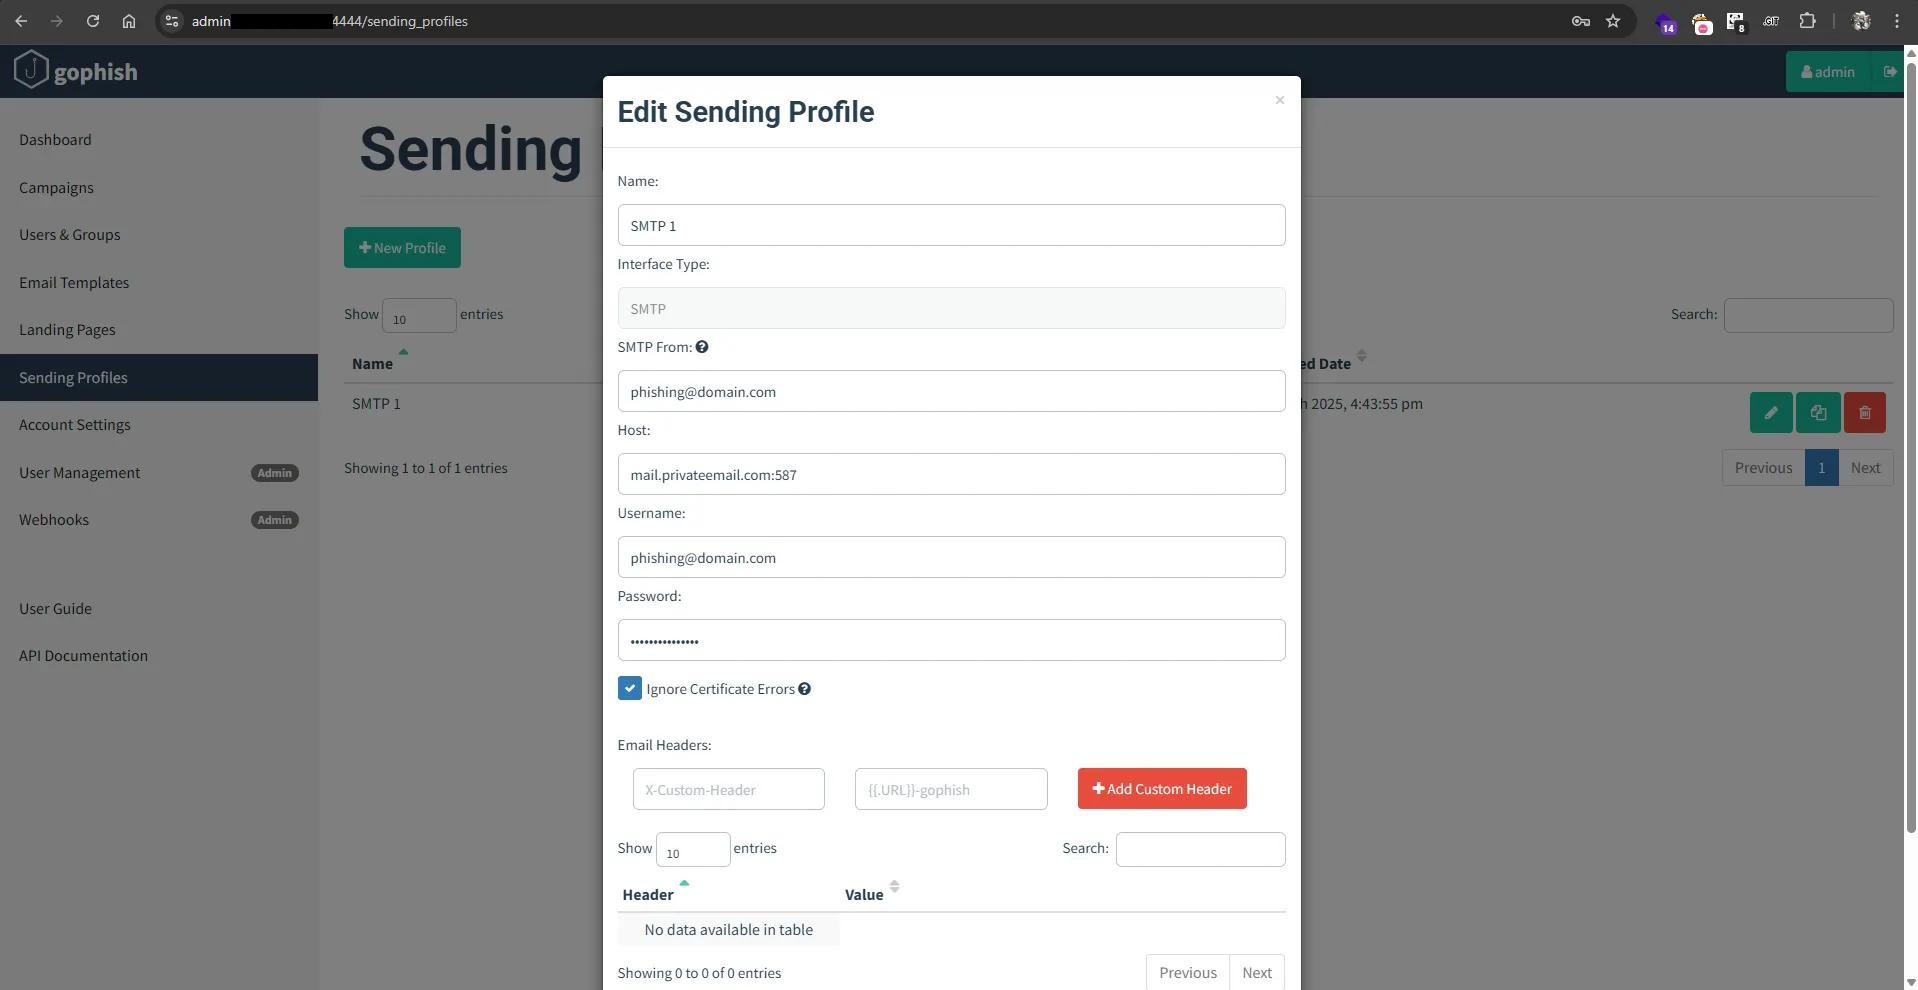
In this setup, the domain was purchased from Namecheap and SMTP was configured using Private Email.
Ensure that SPF, DKIM, and DMARC records are properly configured to avoid email delivery issues.
SMTP configuration details can be obtained from the email provider’s documentation or the email account settings panel.
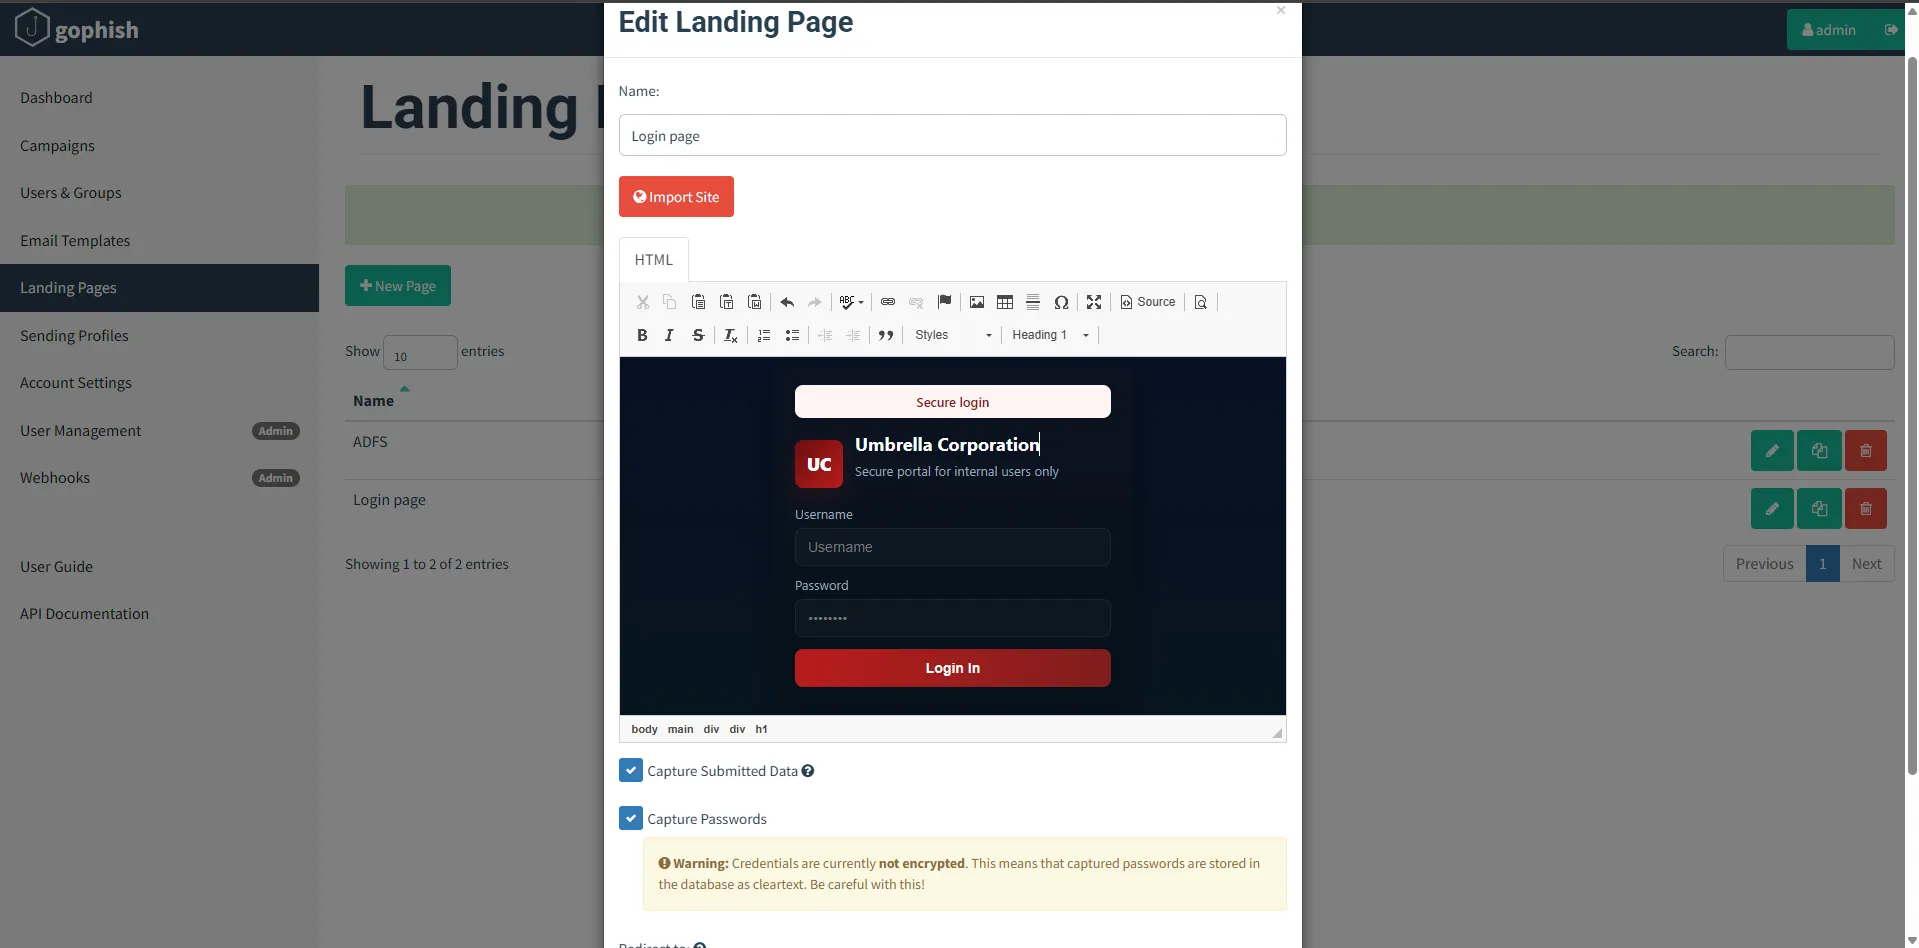
Landing Page
Next, set up a landing page that will be presented to the victim. This page typically mimics a legitimate login portal to trick the victim into entering their credentials.
Note: Basic knowledge of HTML and CSS is required to design a realistic-looking landing page. In this case, a custom login page was created and saved as shown below.
Email Templates
Next, create an email template that will be sent to the victims. A sample email template used in this setup is shown below.
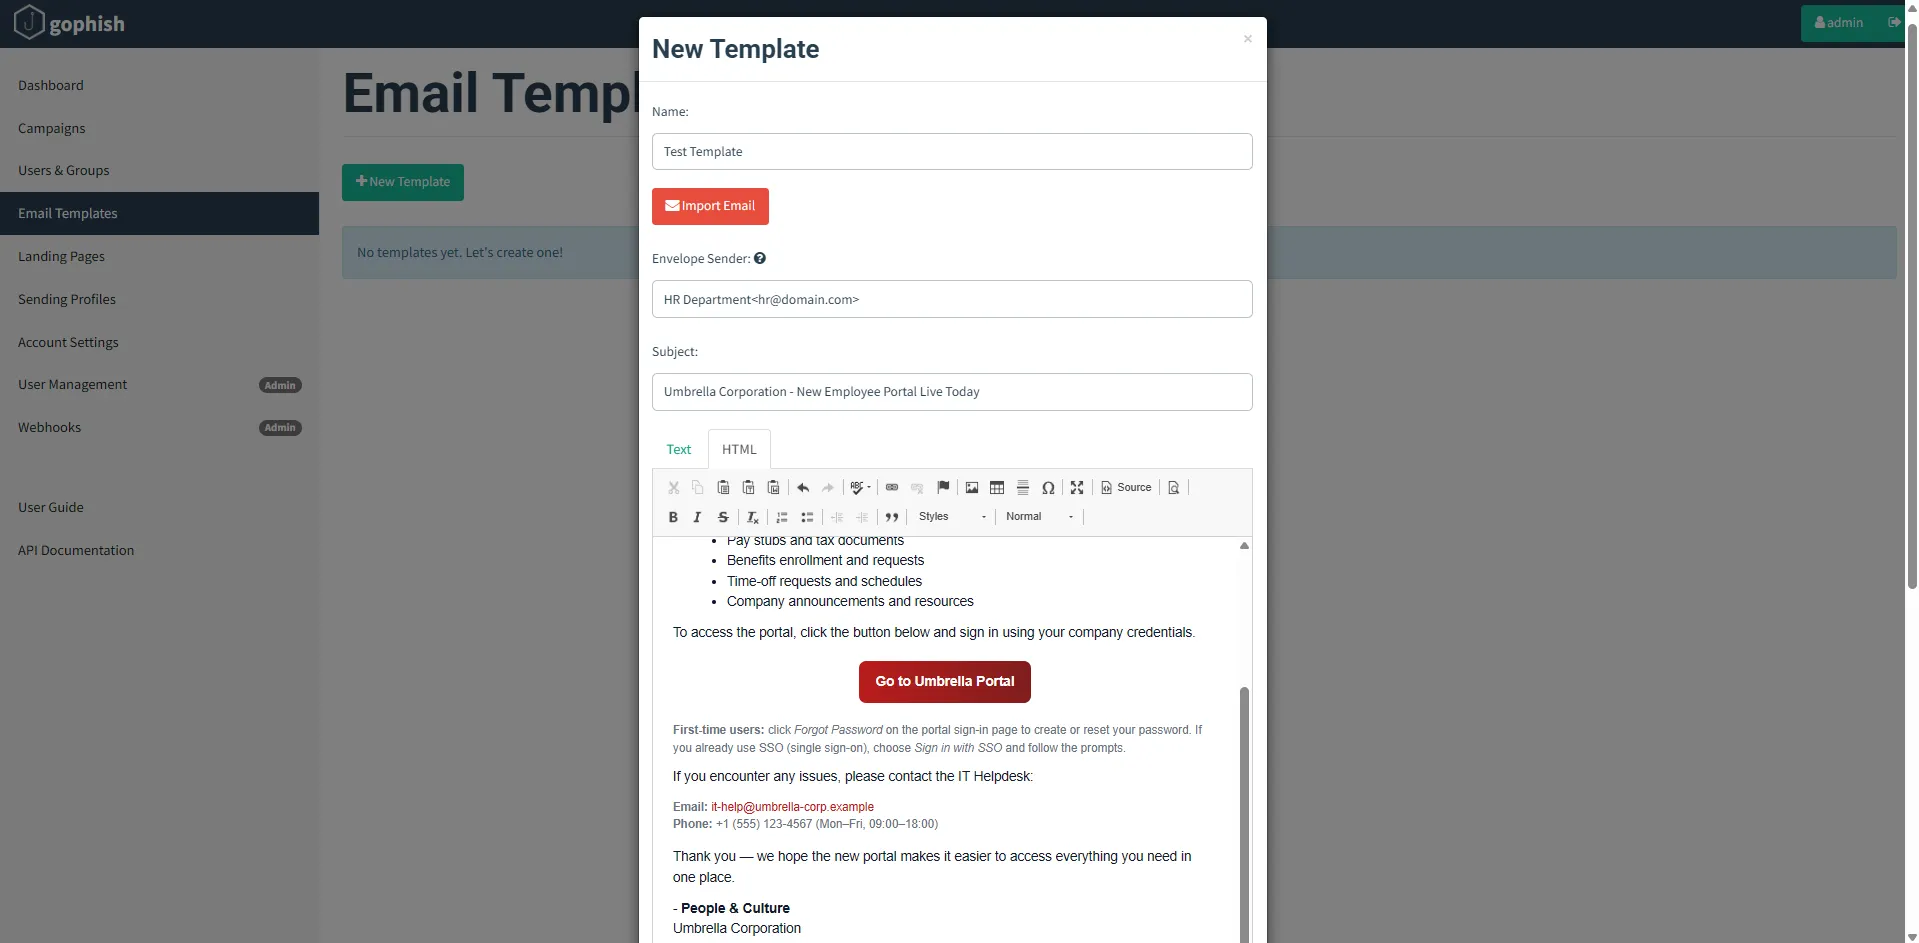
Basic knowledge of HTML and CSS is required to design effective and realistic phishing emails.
In the HTML code of the email template, add the variable {{.URL}}.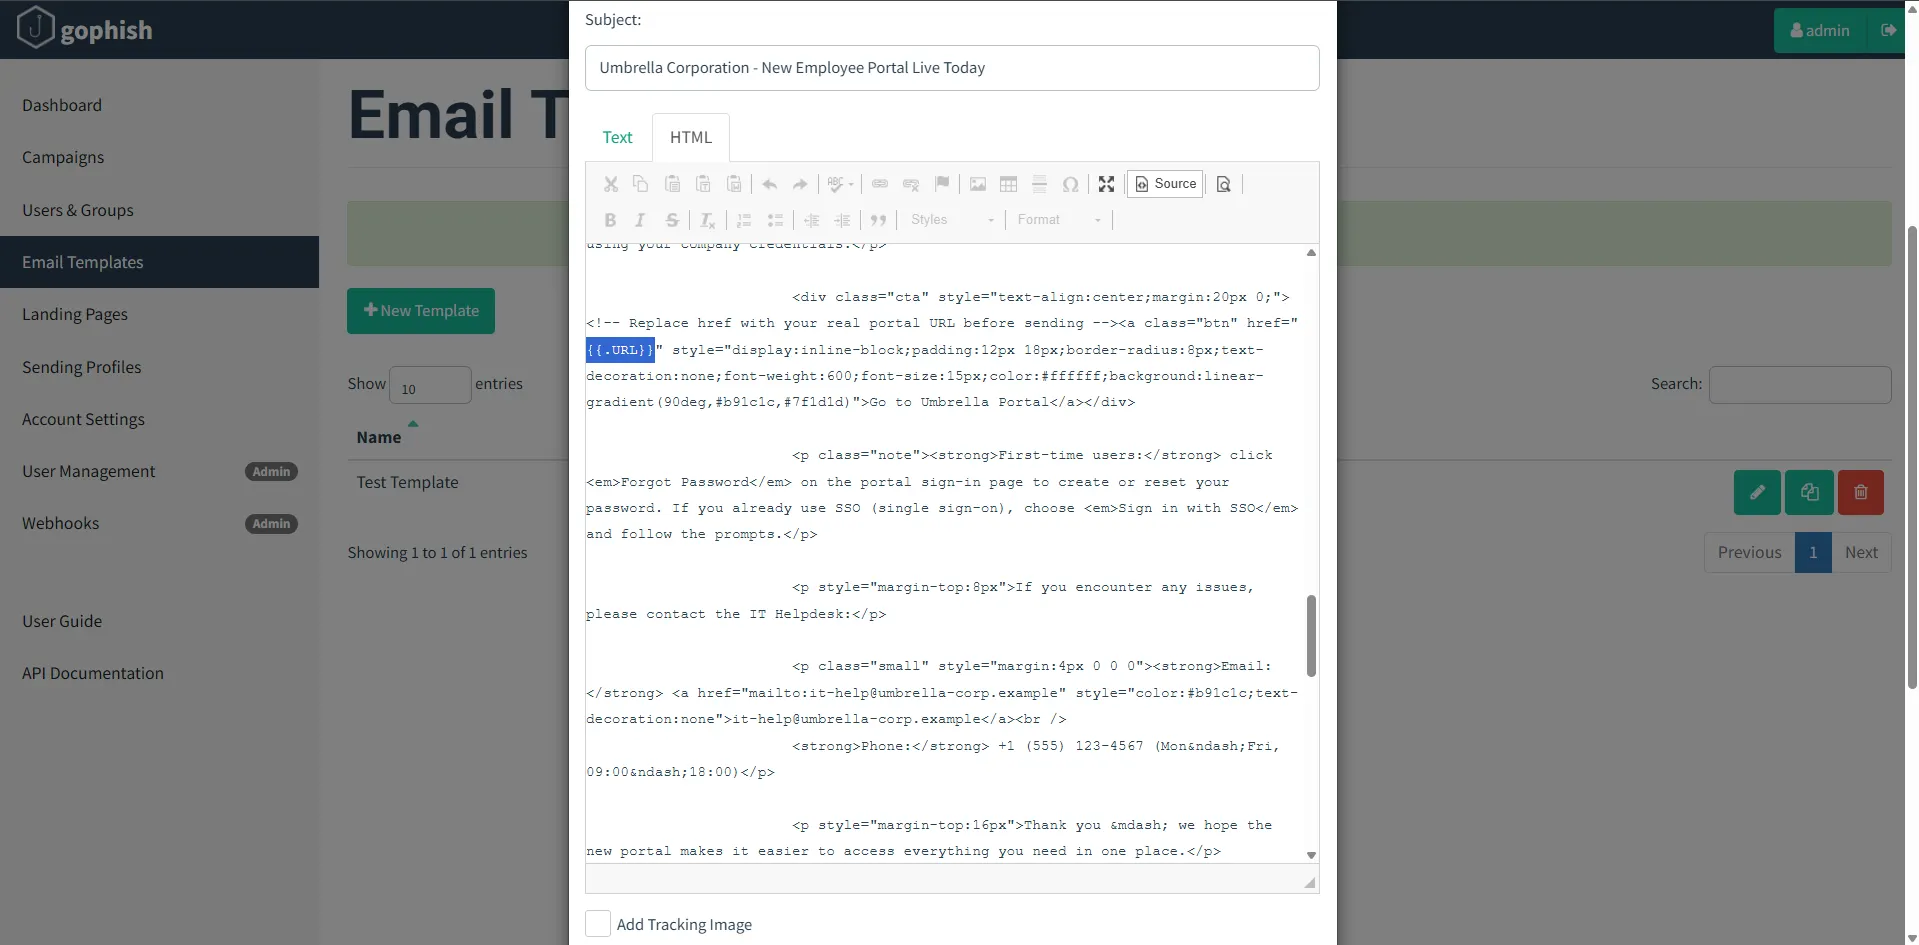
This variable is used for the button or hyperlink in the email so that, when clicked, the victim is redirected to the phishing landing page.
Ensure the following fields are configured correctly:
- Template Name
- Subject
- Envelope Sender
Important: The Envelope Sender must use an email address from the phishing domain. Envelope email can be anything but the address must end with
@<phishingdomain.com>.
If an external or mismatched domain is used, GoPhish will reject the configuration while saving.
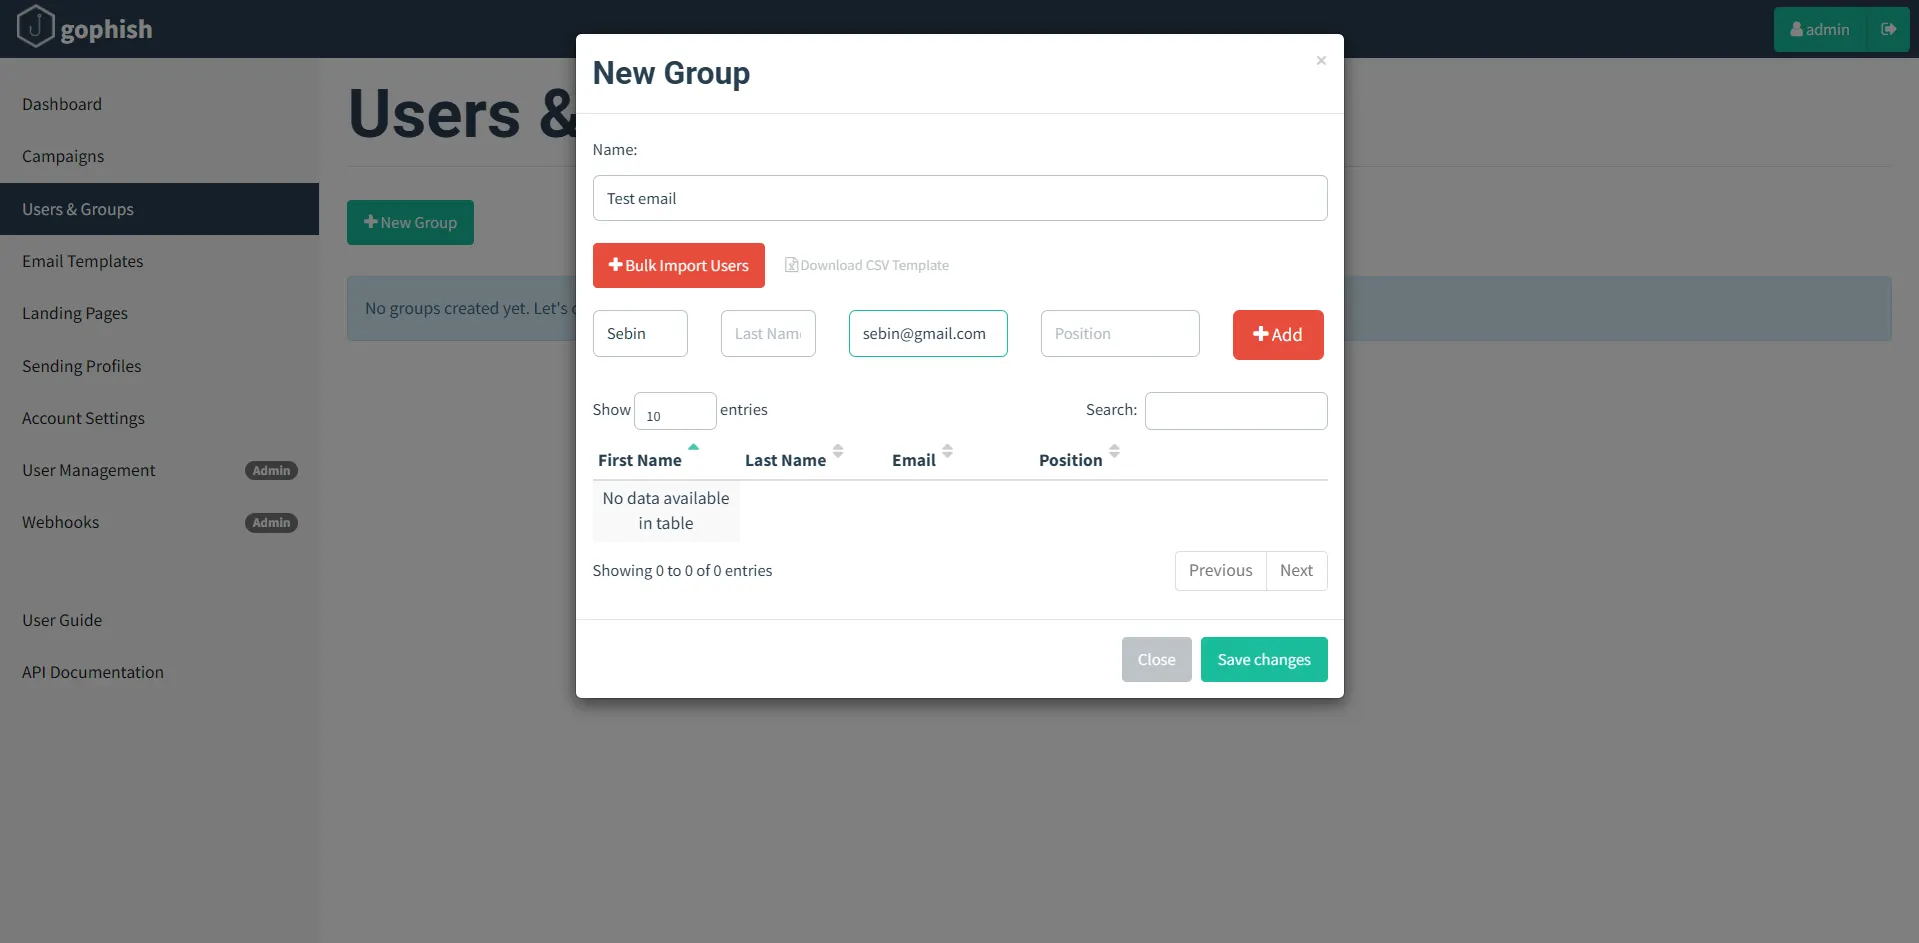
Users and Groups
In this section, add the victim details such as First Name, Last Name, Position, and Email Address.
These values can be dynamically used inside the email template for personalization.
For example, at the beginning of the email body:
Dear {{.FirstName}} {{.LastName}}
If the recipient’s first or last name is not available, a generic greeting can be used instead, such as:
Dear Sir/Madam
Victims can be added:
- Manually, one by one
- By importing a
.csvfile containing multiple users
Below is an example of a group configured with a single user.
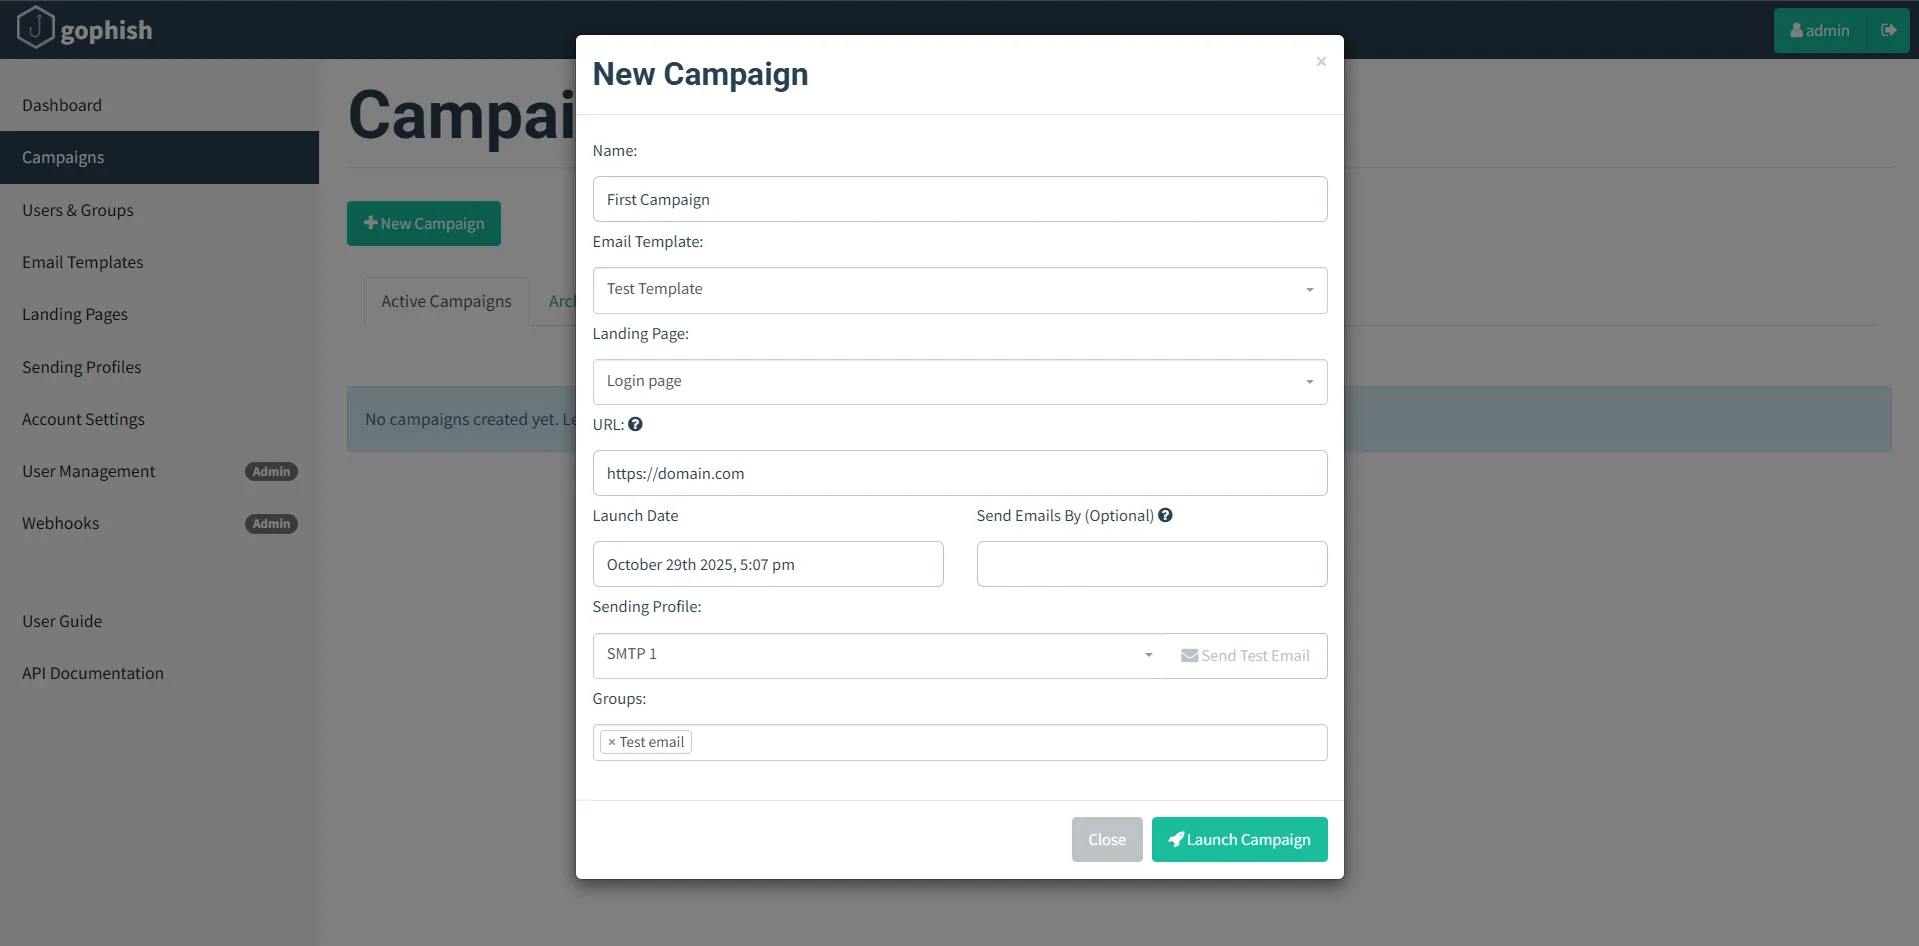
Once the Sending Profile, Landing Page, Email Template, and Users & Groups are configured, we are ready to launch a phishing campaign.
Navigate to Campaigns → New Campaign and configure the following fields:
- Campaign Name
- Email Template
- Landing Page
- URL (this should be your phishing domain, e.g.,
https://example.com) - Launch Date and Time
- Sending Profile
- Target Group
Below is an example campaign configuration.
Launching the Campaign
Once all configurations are completed, the campaign can be launched.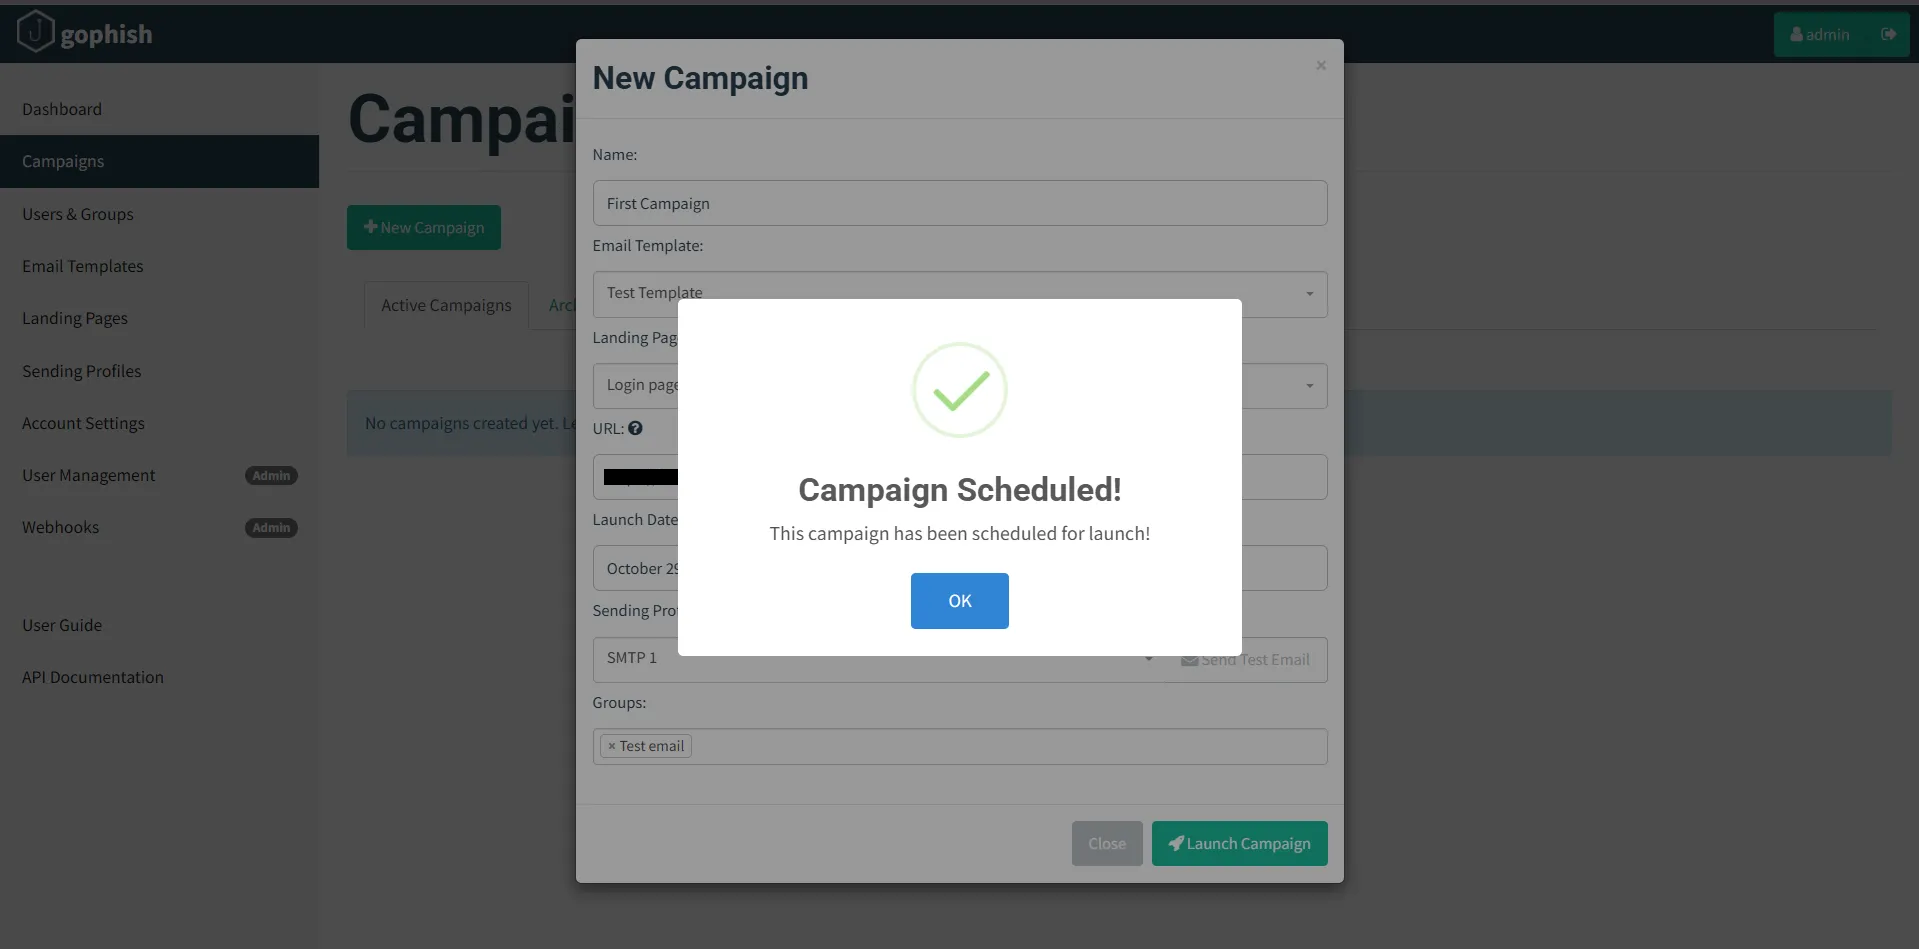
After launching the campaign, check the victim’s inbox. The phishing email will be delivered based on the configured email template.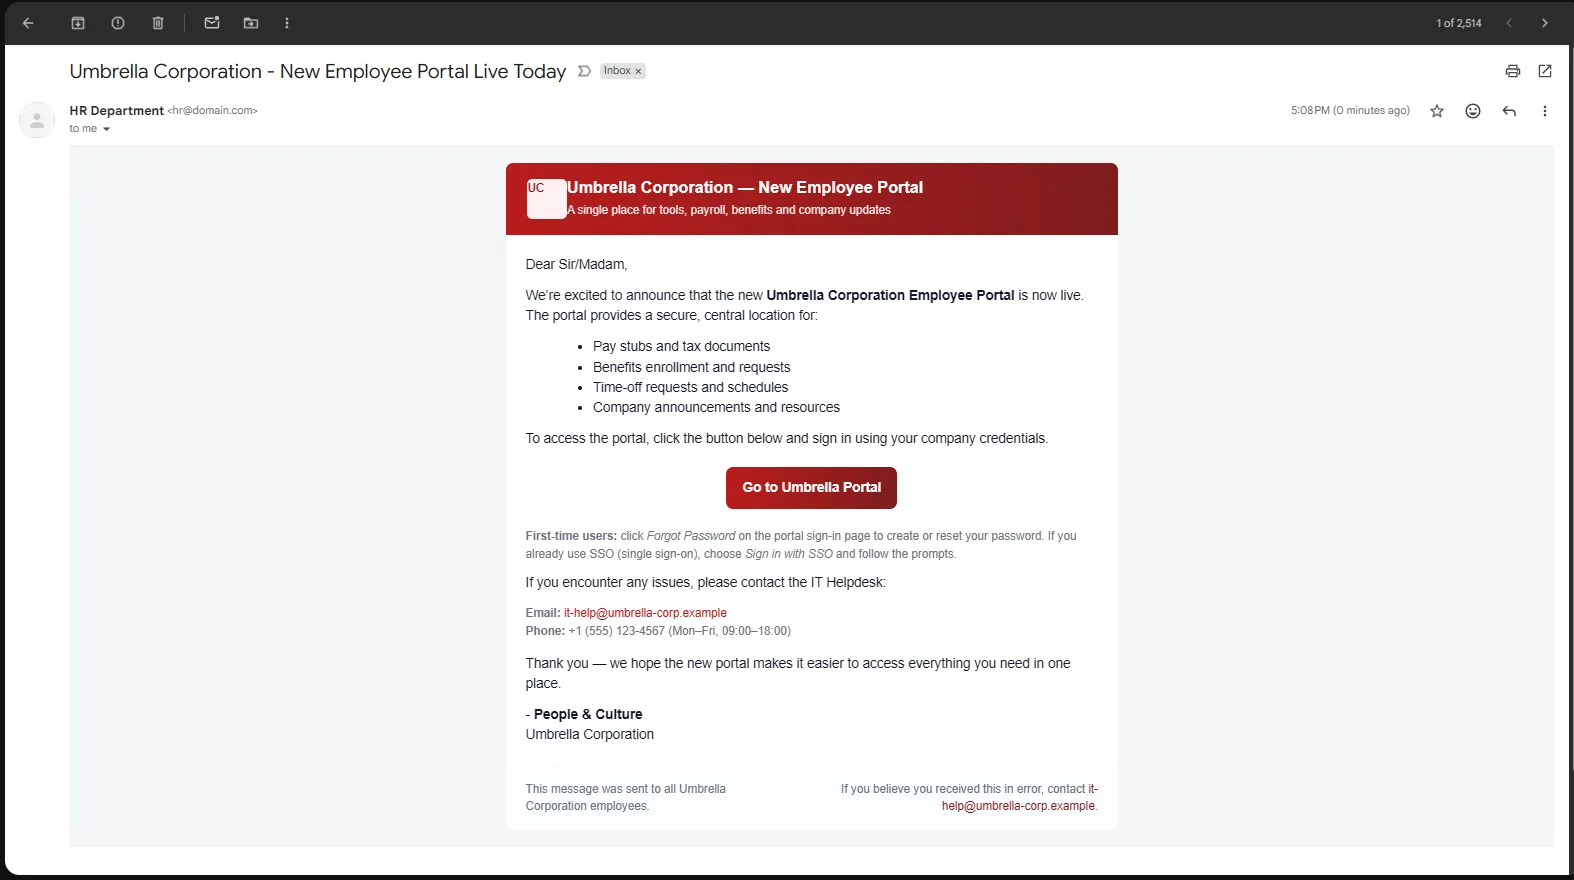
When the victim clicks on the Go to Umbrella Portal button, they are redirected to the phishing landing page as shown below.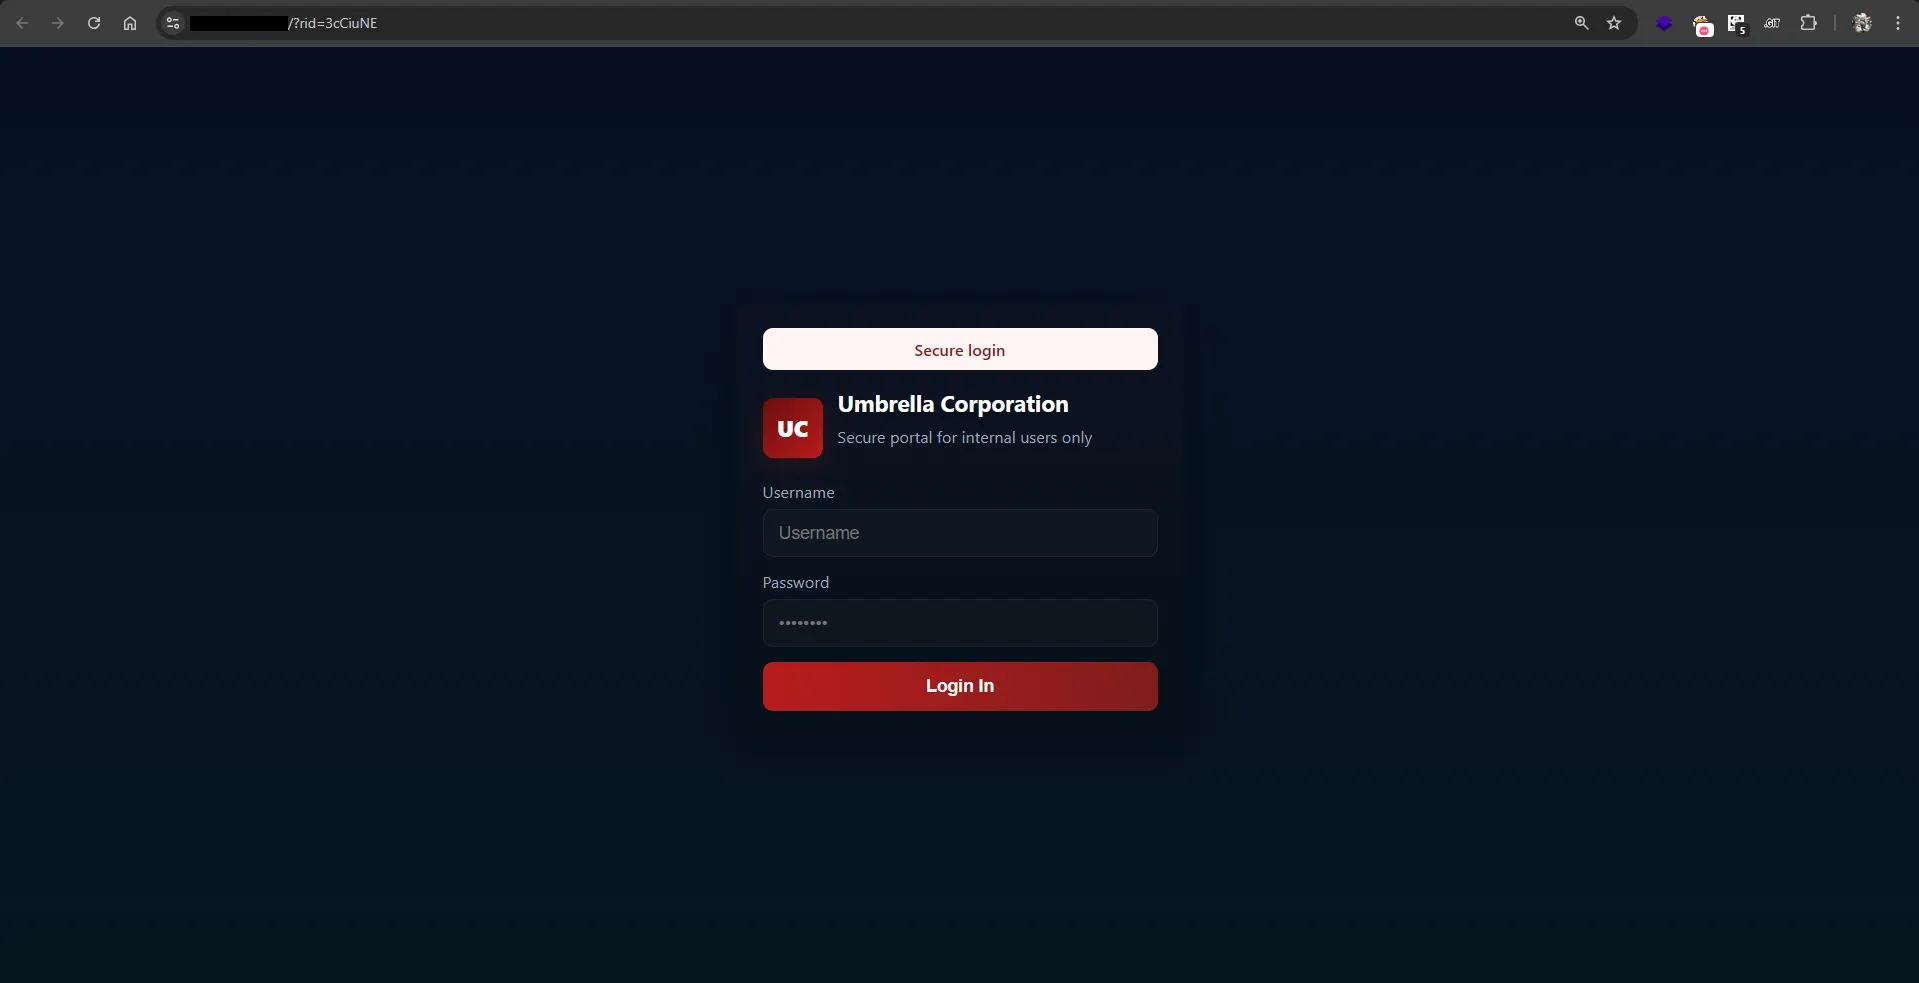
Credential Capture
After the victim enters sample credentials and clicks Submit, the credentials are captured by GoPhish.
The victim is then redirected to the legitimate website configured earlier in the landing page settings.
Captured credentials can be viewed directly from the GoPhish dashboard, as shown below.
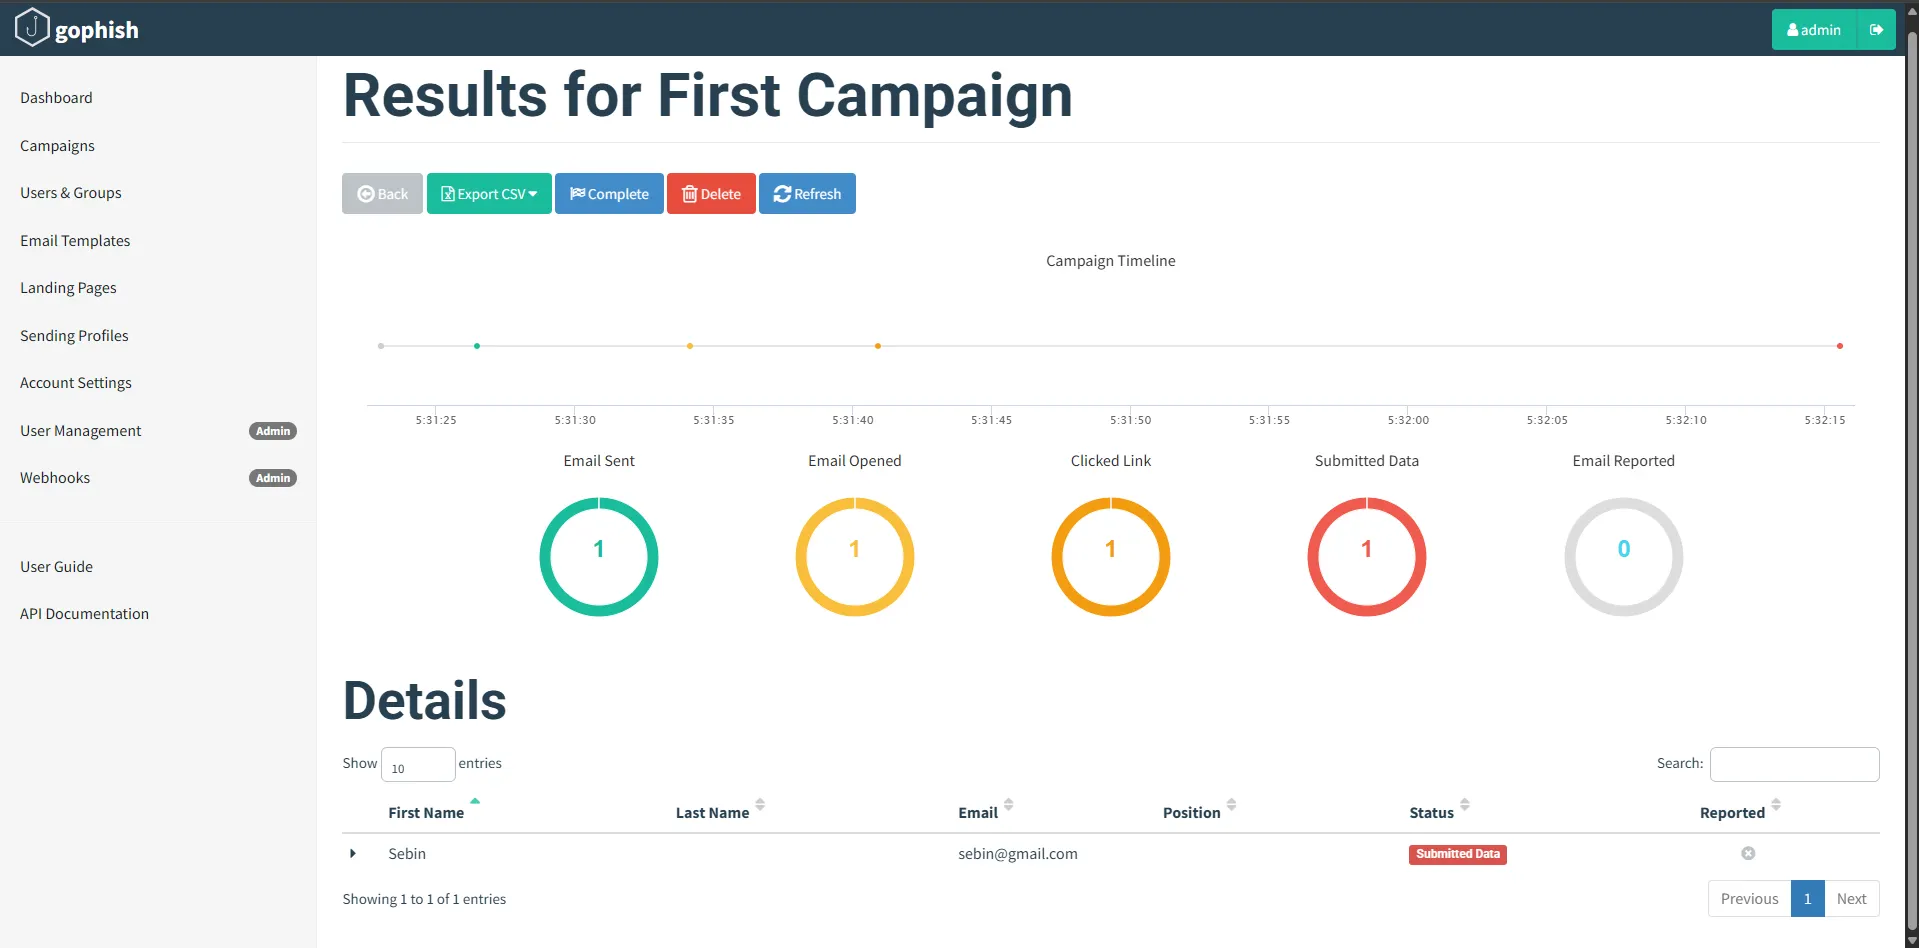

At this stage, we have successfully phished a user.
Sample (dummy) references for a working setup:
Hardening Tips
Emails sent from GoPhish include the default header X-Mailer: GoPhish.
To reduce detection, override this by adding a custom X-Mailer header in the sending profile (e.g., Outlook or MS-Exchange). For more details, check out the blog post from TrustedSec: Upgrade Your Workflow – Part 2: Building Phishing ChecklistsCheck the reputation of the phishing domain using https://multirbl.valli.org/
If the domain is listed in any blacklist, remediate it immediately to avoid mail delivery issues or domain suspension.Perform a spam test before launching campaigns using https://www.mail-tester.com/
This performs a basic spam check on your email by analyzing content, formatting, and sender configuration to highlight common spam triggers and deliverability issues.Carefully review firewall inbound rules:
- Block external access to SSH
- Restrict access to the GoPhish admin dashboard.
During an active phishing campaign, expose the dashboard only to your own public IP address.
- Do not expose any management interfaces publicly
For more details, refer to my previous article: GoPhish Setting up without Evilginx – Part 1
Use a redirector to filter unwanted traffic and minimize direct exposure of the phishing server.
- Title: Gophish - Setting up without Evilginx - Part 2
- Author: Sebin Thomas
- Created at : 2025-12-25 11:13:00
- Updated at : 2026-03-06 10:29:52
- Link: https://0xsebin-blogs.vercel.app/2025/12/25/GoPhish-Setting-up-without-Evilgnix-Part-2/
- License: All Rights Reserved © Sebin Thomas